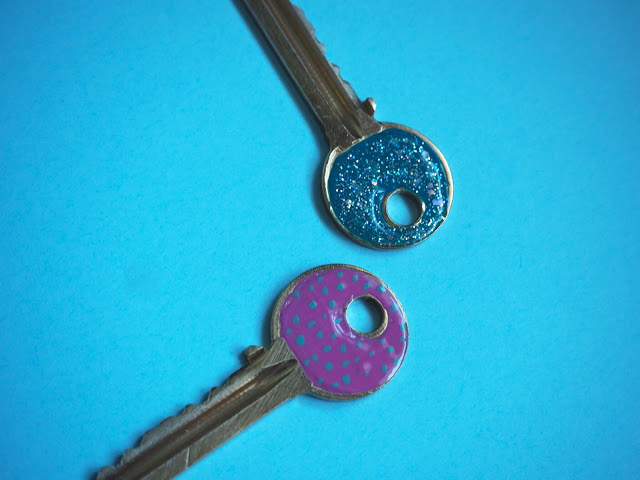

Picture the scene: you are standing at your front door, it’s freezing cold, your hands are like blocks of ice and when you finally put your key into the lock so you can get into your warm, cosy house…….disaster strikes……..it’s the wrong key!!! After a few (or many) swear words, with your frozen fingers you manage to find the other key to place into the lock and you finally get into your warm home. Sounds familiar? This is me most of the time, guaranteed that on the coldest day/night, that will be when I use the wrong key!! So I decided to do something about it before the snow arrives. I have loads of nail varnish (I’m ashamed to say that some are a few years old) so I came up with the idea to colour code my keys by painting the top of the keys with a different colour so I could tell which key was the front door and which was the back. This DIY is so easy to do and saves a lot of time fumbling for the right key once they are colour coded.
Colour Coded Key Makeover
How To Make:
Remove keys from your key ring.
Apply nail varnish to the top of each key only, nail varnish in the grooves of the key might prevent it from opening your door and getting a locksmith to sort out that little problem will be quite costly!
If you go over the edges at all a cotton bud dipped into nail varnish remover will clean those bits up. You can even decorate the key with spots, stripes or glitter to make it look pretty but make sure that the bottom coat of varnish is dry first.
Finish off with either a top coat or clear nail varnish to seal the key.
Allow to dry for a few hours before using as it will smudge (this may have happened to impatient little old me!)

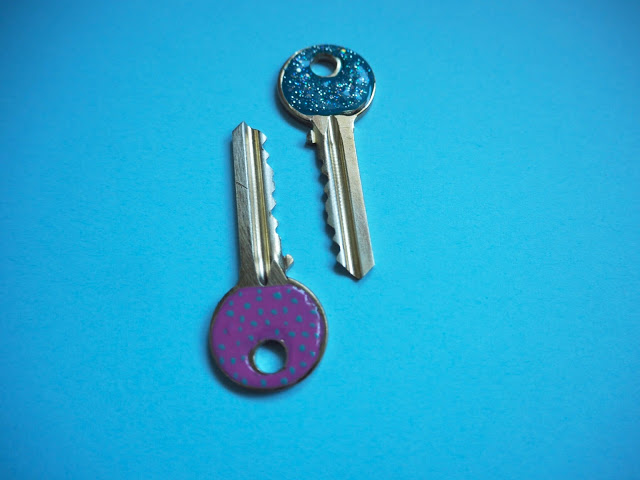
It really is as easy as that plus no more standing outside in the cold trying to figure out which key goes into which lock! Let me know if you give this key colour coding a try.